
Areas and map
Jump for Animals areas and map
Compare the badge-backed area sequence with gameplay-confirmed labels, landmarks, Jump observations and egg-return routes. Badge order does not by itself prove map position.
Badge-backed area sequence
| Badge sequence | Area | Related badge | Route status |
|---|---|---|---|
| 1 | Meadow | Meadow Egg | Owl Egg pickup and the Divine Egg event board are visible in timestamped gameplay; no controlled minimum-Jump test was captured. |
| 2 | Coral Reef | Coral Reef Egg | Butterflyfish Egg and Goldfish Egg pickups are visible in timestamped gameplay; the captured runs do not establish a minimum Jump value. |
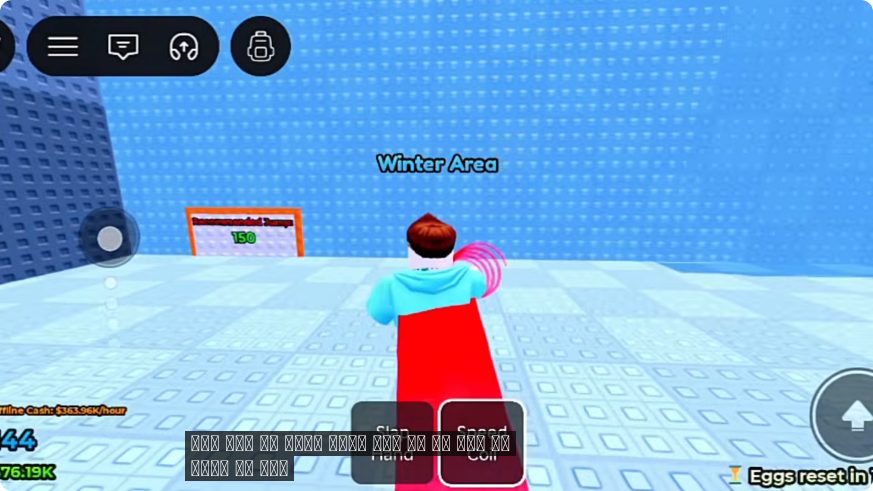
| 3 | Winter | Winter Egg | The snow route and Polar Bear Egg placement are visible; the placed egg shows 3m29s remaining. |
| 4 | Desert | Desert Egg | The Desert Area label, an account at 297 Jump and a red guardian figure are visible; no hard threshold is established. |
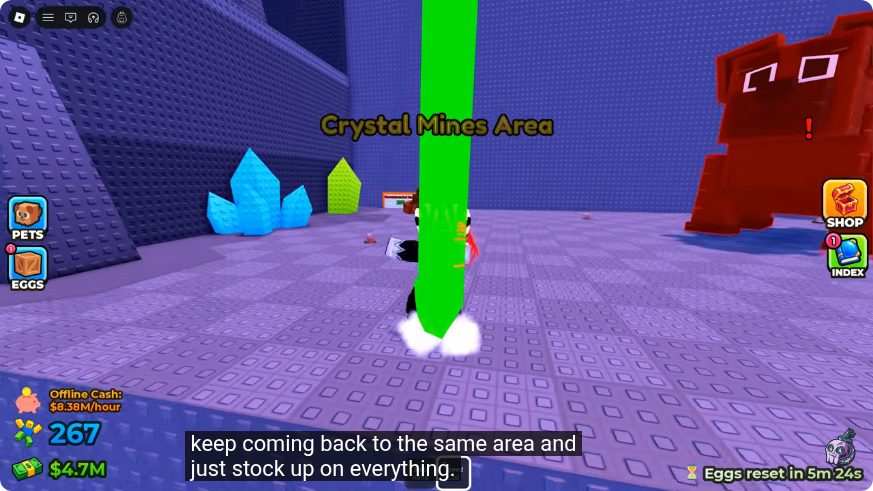
| 5 | Crystal Mines | Crystal Mines Egg | The area label, an account at 267 Jump, a red guardian figure and a carrying descent are visible in timestamped gameplay. |
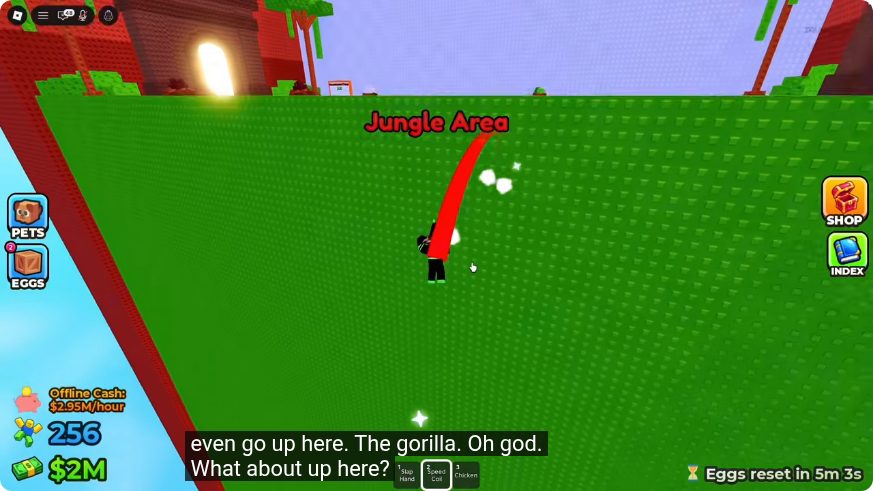
| 6 | Jungle | Jungle Egg | A crocodile-guarded pickup is visible in a jungle-like route, but the checked frame does not show the area label. |
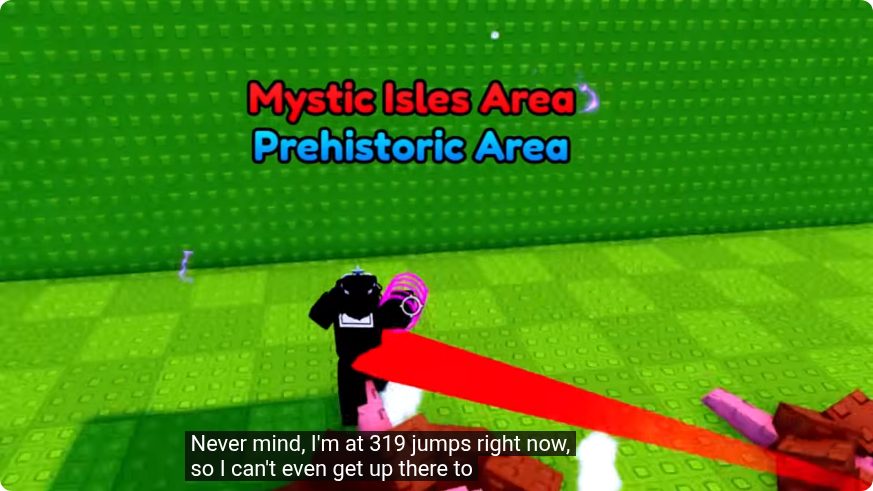
| 7 | Mystic Isles | Mystic Isles Egg | The area label is captured at 319, 331 and 572 account Jump values, including two carrying descents toward the base. |
| 8 | Prehistoric | Prehistoric Egg | A dinosaur pickup sequence and Gallimimus Egg placement are visible; the exact minimum Jump Power still needs a controlled test. |
| 9 | Celestial Heights | Celestial Heights | Badge API sequence only; no readable gameplay route or minimum-Jump test has been captured for this area. |
| 10 | Savannah | Savannah Egg | Badge API sequence only; no readable gameplay route or minimum-Jump test has been captured for this area. |
Gameplay-confirmed area coverage
Recommended Jump is separated from the player's current Jump so account snapshots are not mistaken for unlock requirements.
| Area / route | Captured observation | Observed account Jump | Recommended Jump | Evidence |
|---|---|---|---|---|
| Crystal Mines | The player is standing in a purple chamber beneath the readable Crystal Mines Area label. | 267 | — | 07:40 · high |
| Meadow | The Meadow Area label and the first elevated route are visible from the base. | 25 | — | 00:20 · high |
| Coral Reef | The Coral Reef Area label appears while the player climbs the blue route. | 58 | — | 02:00 · high |
| Winter | The Winter Area label and a nearby Recommended Jump sign are readable. | — | 150 | 10:40 · high |
| Jungle | The Jungle Area label is visible on the green vertical route. | 256 | — | 06:20 · high |
| Desert | The Desert Area label is readable at a purple crystal-lined ledge. | 297 | — | 08:20 · high |
| Mystic Isles | The Mystic Isles Area label appears during an egg return descent. | 331 | — | 09:20 · high |
| Prehistoric | The Prehistoric Area label is readable on the late-game green wall route. | 378 | — | 14:20 · high |
| Ankylosaurus pickup route | An Ankylosaurus Egg pickup sits beside a Recommended Jump 450 sign. | 572 | 450 | 09:10 · high |
Additional route mechanics
These landmarks are readable in recent gameplay footage. The HUD numbers describe the recorded account at that moment; they are not published as minimum requirements.
| Landmark | What the footage shows | Source |
|---|---|---|
| Starting course | Walk to Start prompt; two sessions show 25 Jump and $100 | Around 03:16 |
| Meadow Area board | Divine Egg spawn countdown and a nearby Next Event board | At 04:40 |
| Snow / ice biome | One account reaches the visible biome with 114 Jump and $97.6K; this is not a threshold | Around 09:47 |
| Giant blue dinosaur | A circular hold/progress interaction appears on or near the guardian | Around 07:24 |
| Recommended Jump sign | A sign near an Ankylosaurus Egg pickup reads Recommended Jump 450; the checked frame has a Prehistoric-style route but no readable area label | At 09:00 |
| Return deadline | Carried-egg runs show Get back across Start countdowns of 5, 7 and 10 seconds in separate route captures | At 12:20 |
| Elevated return path | The player carries a large egg with Drop Egg, Speed Coil and Your Base visible | Around 12:29 |
Observed egg route: start to hatch
- Train near the starting course, then follow ascending platforms toward the guarded area.
- Locate the giant animal and the circular hand/progress interaction near its egg.
- Before completing the interaction, turn back and memorize the direction of the Your Base marker.
- Carry the egg over stable platforms or the raised return route. Drop Egg is visible, but its penalty and best use were not demonstrated in the checked recording.
- A Speed Coil is visible in one return recording; the footage does not prove it is required.
- At the plot, wait for the returned egg to show Ready!, then use Open.
Badge sequence, not a complete map claim
Meadow → Coral Reef → Winter → Desert → Crystal Mines → Jungle → Mystic Isles → Prehistoric → Celestial Heights → Savannah, with Divine treated as a timed rare-spawn badge and Celestial/Eternal tracked separately. This is the public Badge API sequence. Savannah still needs route footage before it can be labeled as the confirmed tenth map area.
Badge-backed routes still under review
Savannah Egg now has public awards and is the newest major research target. Eternal Egg has only nine observed awards, so it still does not prove an accessible public area or a position in the main route.
What each route still needs
A useful map entry needs a starting point, visible landmarks, failed and successful Jump Power tests, equipped Barbell/Trail/Speed Coil, egg location and safe return path. Those fields will be added only from captured gameplay.