
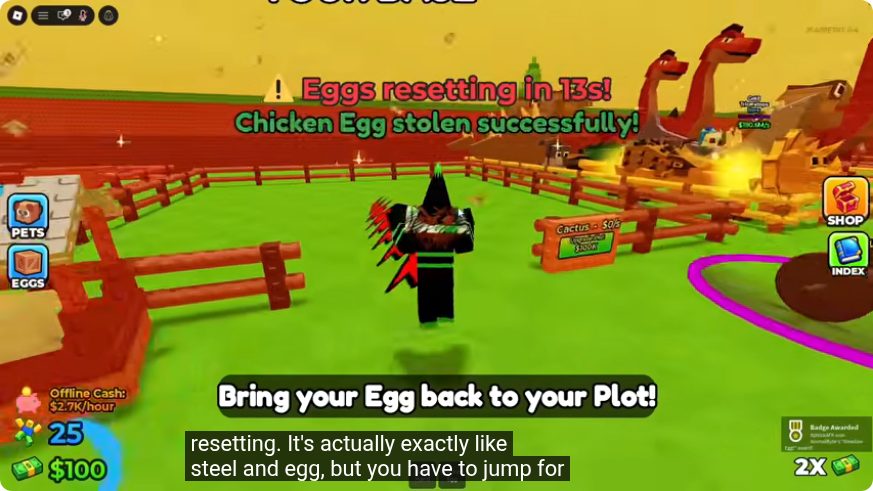
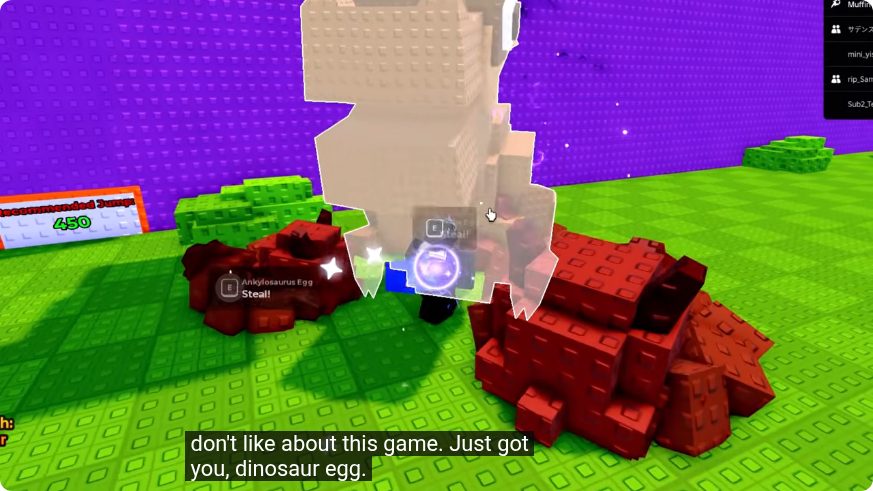
Train → test the next platform → take and return the egg → hatch → spend on the bottleneck → repeat. Do not keep training after the next route already feels consistent.
Progression ladder
Follow the badge-backed area order below. Exact minimum Jump requirements remain unproven unless a row cites a controlled test, so use each step as a route target rather than a hard gate.
| Stage | Area | Egg target | Evidence / next action |
|---|---|---|---|
| 1 | Meadow | Meadow Egg | Owl Egg pickup and the Divine Egg event board are visible in timestamped gameplay; no controlled minimum-Jump test was captured. |
| 2 | Coral Reef | Coral Reef Egg | Butterflyfish Egg and Goldfish Egg pickups are visible in timestamped gameplay; the captured runs do not establish a minimum Jump value. |
| 3 | Winter | Winter Egg | The snow route and Polar Bear Egg placement are visible; the placed egg shows 3m29s remaining. |
| 4 | Desert | Desert Egg | The Desert Area label, an account at 297 Jump and a red guardian figure are visible; no hard threshold is established. |
| 5 | Crystal Mines | Crystal Mines Egg | The area label, an account at 267 Jump, a red guardian figure and a carrying descent are visible in timestamped gameplay. |
| 6 | Jungle | Jungle Egg | A crocodile-guarded pickup is visible in a jungle-like route, but the checked frame does not show the area label. |
| 7 | Mystic Isles | Mystic Isles Egg | The area label is captured at 319, 331 and 572 account Jump values, including two carrying descents toward the base. |
| 8 | Prehistoric | Prehistoric Egg | A dinosaur pickup sequence and Gallimimus Egg placement are visible; the exact minimum Jump Power still needs a controlled test. |
| 9 | Celestial Heights | Celestial Heights | Badge API sequence only; no readable gameplay route or minimum-Jump test has been captured for this area. |
| 10 | Savannah | Savannah Egg | Badge API sequence only; no readable gameplay route or minimum-Jump test has been captured for this area. |
Recorded progression checkpoints
These rows describe individual accounts at specific timestamps. They are useful route examples, but they are not minimum requirements or an expected speedrun pace.
| Location | Observed Jump | Observed cash | Recorded result | Source |
|---|---|---|---|---|
| Meadow / base | 25 | $100 | A Chicken Egg return succeeds and the early HUD state is readable. | Gameplay at 00:20 |
| Base after Coral Reef runs | 86 | $2.8K | Butterflyfish is shown as hatched and discovered in the Index. | Gameplay at 02:00 |
| Jungle route | 256 | $2M | The player reaches a route segment carrying the readable Jungle Area label. | Gameplay at 06:20 |
| Desert route | 297 | $8.6B | The player reaches the ledge carrying the readable Desert Area label. | Gameplay at 08:20 |
| Mystic Isles return route | 331 | $17.39B | The player descends through the Mystic Isles Area while carrying an egg. | Gameplay at 09:20 |
| Prehistoric route | 378 | $190.36B | The player climbs through a segment labeled Prehistoric Area. | Gameplay at 14:20 |
First 10 minutes
Learn where your plot and training station are, build enough Jump Power to test the first climb, attempt the lowest available egg, then return and hatch it before buying convenience upgrades. Exact starter prices and thresholds still need a new-account capture.
One recorded session moves from 25 Jump / $100 at 03:16 to 86 Jump / $6.25K at 06:31, then reaches a snowy biome at 114 Jump / $97.6K by 09:47. These are checkpoints from one account and loadout—not minimum thresholds. Open the recorded run .
Progression bottleneck diagnosis
| What stops the run | What it suggests | Next action |
|---|---|---|
| You cannot reach the next ledge | Jump height is the bottleneck | Train more and retest before spending elsewhere |
| You can climb but return trips are slow | Movement or route consistency is the bottleneck | Practice the route; test a Speed Coil only after its effect is verified |
| Training upgrades feel unaffordable | Income is the bottleneck | Hatch the best verified reachable egg and keep animal slots productive |
| You fail while carrying an egg | The return path is not yet consistent | Plan the return before taking the egg and avoid claiming at the edge of your range |
Early game · Meadow → Coral Reef → Winter
Build the train → test → return habit. Upgrade Jump Power when height stops you; otherwise protect cash for the next upgrade that shortens the loop.
Mid game · Desert → Crystal Mines → Jungle
Keep income and power moving together. Each successful hatch should fund another route test instead of relying on a “best” purchase claim without a captured shop screen.
Late game · Mystic Isles → Prehistoric → Celestial Heights
Longer attempts make route consistency more valuable. Test landmarks before taking an egg and avoid spending everything before confirming the next bottleneck.
Special spawns and badge-only records
Divine is a timed spawn observed in Meadow and is not a normal area step. Celestial is badge-backed. Savannah now has public awards but still needs route capture. Eternal has only nine observed awards, so it does not establish a public route.
Common progression mistakes
- Training for too long without testing the next platform.
- Spending all cash on movement when jump height is the actual blocker.
- Ignoring animal income before starting another expensive upgrade cycle.
- Taking an egg without first checking a safe return path.
Exact Jump Power ranges, Barbell prices, Speed Coil effects, later route landmarks and base animal income remain unpublished by Roblox. The Trail table now records nine third-party shop observations separately.